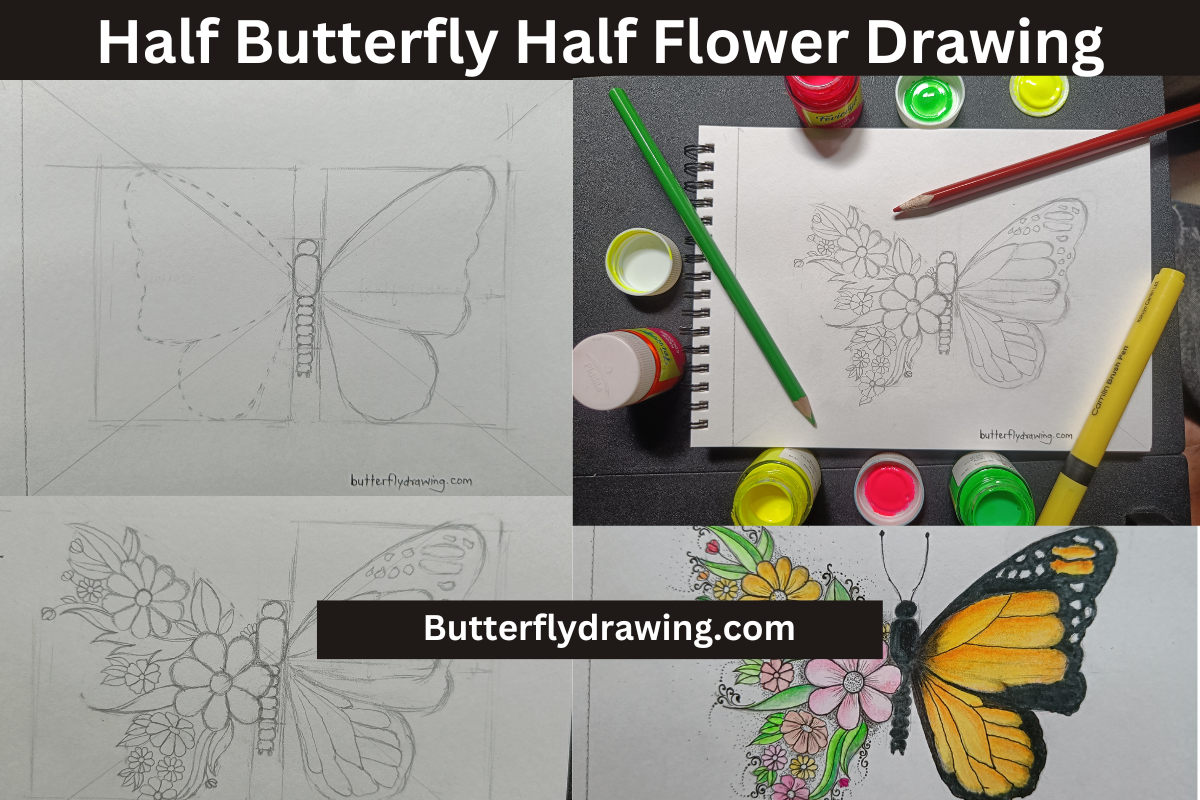
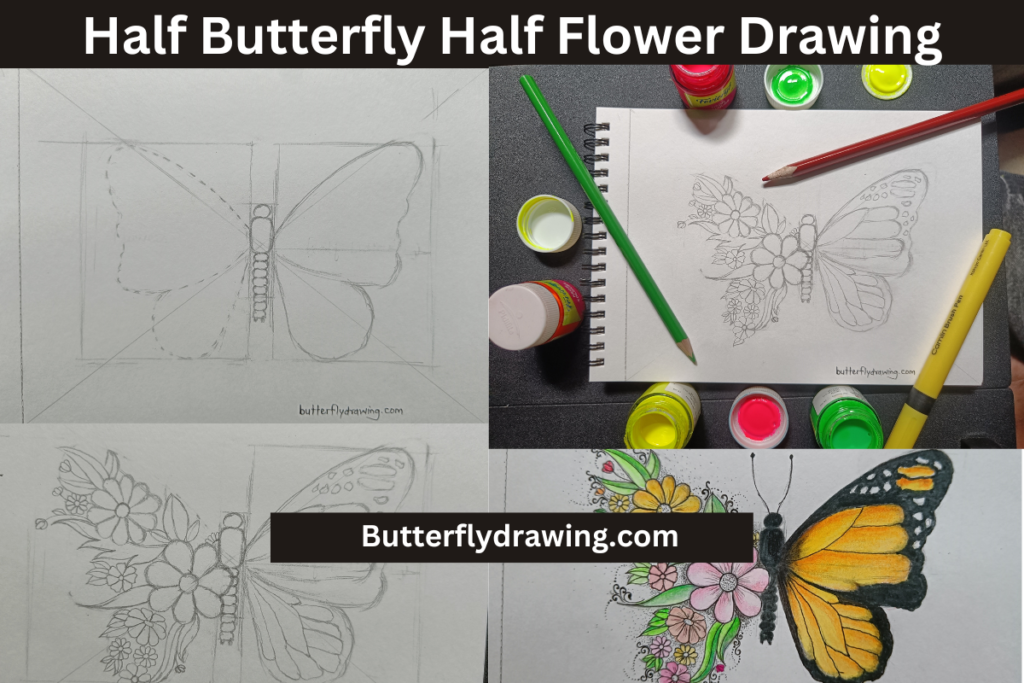
Hello friends, lets learns unique concept of Half Butterfly Half Flower Drawing with step by step. this method of drawing is very simple and beautiful. you can easily create this artwork using your imagination power. there are no restriction in this artwork. the only thing you need to keep in mind while making this artwork is the shape of the butterfly and the shape of the flowers as well as leaves.
The Half Butterfly Half Flower Drawing concept is also used in tattoo. some artist also like to draw this art in their notebook. some people also like this concept on the wall of their house. and some people also do this art work to improve their practice. In fact, in this drawing you should be able to draw the outline of the half butterfly drawing and the outline of the half flower drawing and leaf shape perfectly. So lets learn how to draw Half Butterfly Half Flower Drawing artwork step by step in some easy ways.
List of Materials:
- Colour Markers (copicmarkers)
- HB pencils
- white Sketch Book
- Colour Pencil
- 0.2mm and 0.5mm pointer black pen.
Learn Step by Step Half Butterfly Half Flower Drawing
You can find Half Butterfly Half Flower artwork in some simple and easy ways so lets see the artwork step by step.
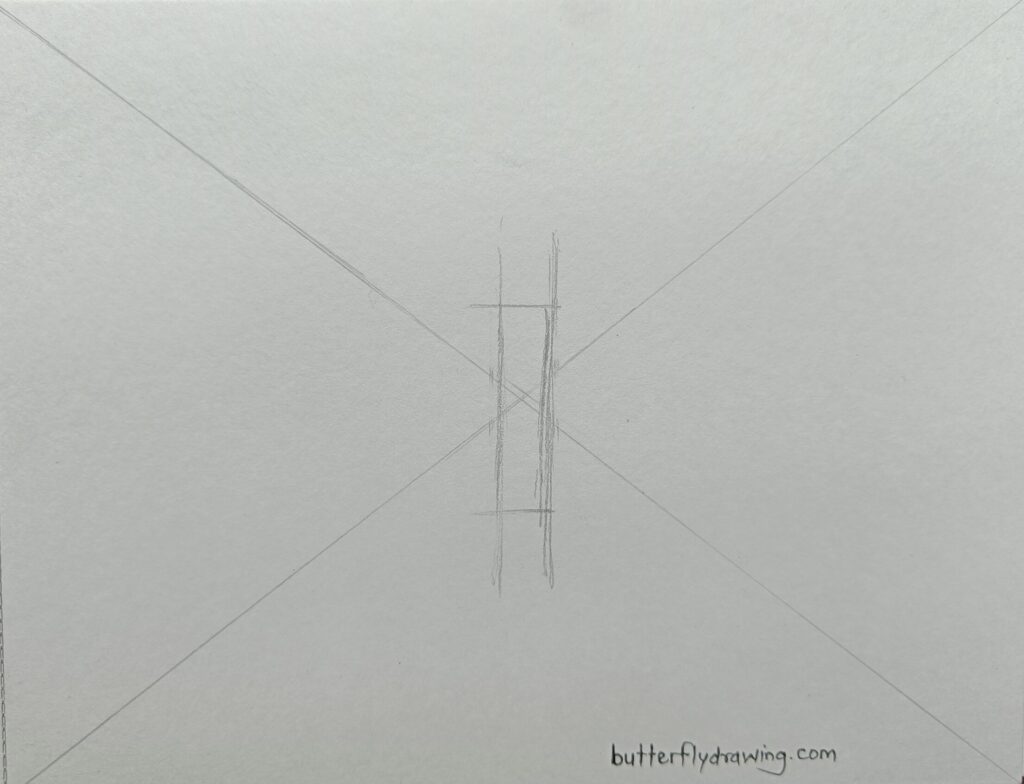
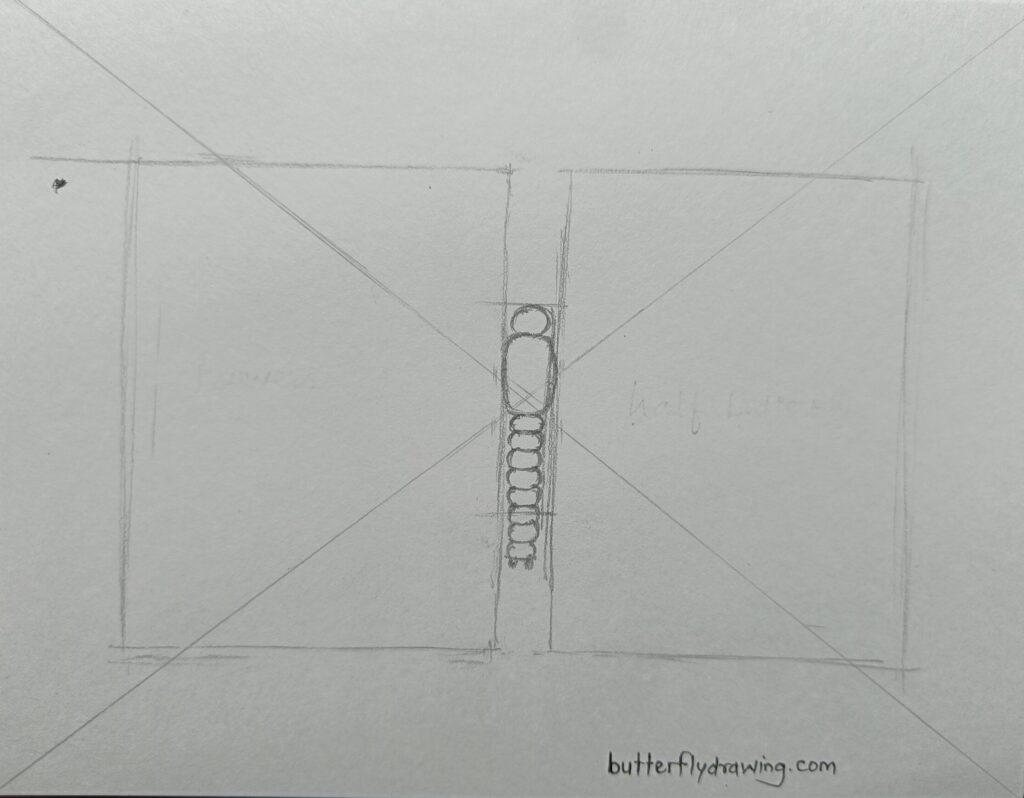
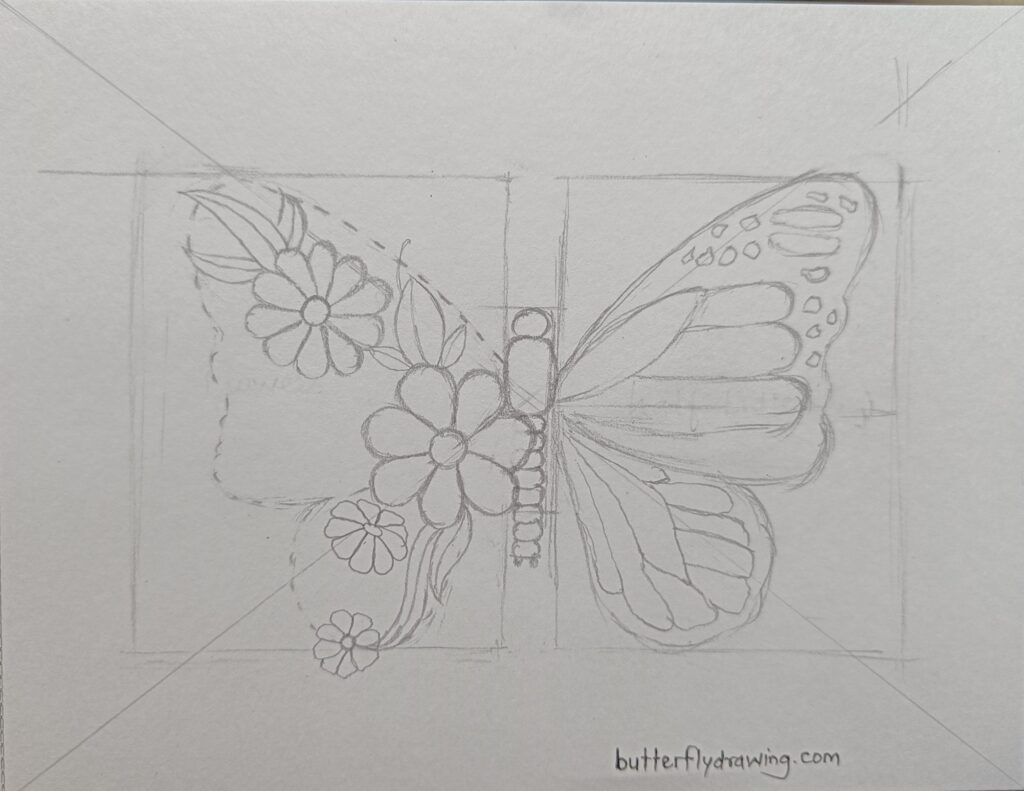
Step 1: Draw Reference
If you want to draw such artefacts first you have to draw the reference line or square or rectangle or triangle shape. because the shape of the butterfly is same and similar on both sides. and to create a figure with both sides equal, you have to resort to a reference figure.
First of all you need to take out the middle of your notebook and for that two lines intersect each other. Draw the vertical rectangle shape to make the body of the butterfly. you can also draw by taking measurement or simply by hand. I am drawing free hand. always remember the middle part of the book.
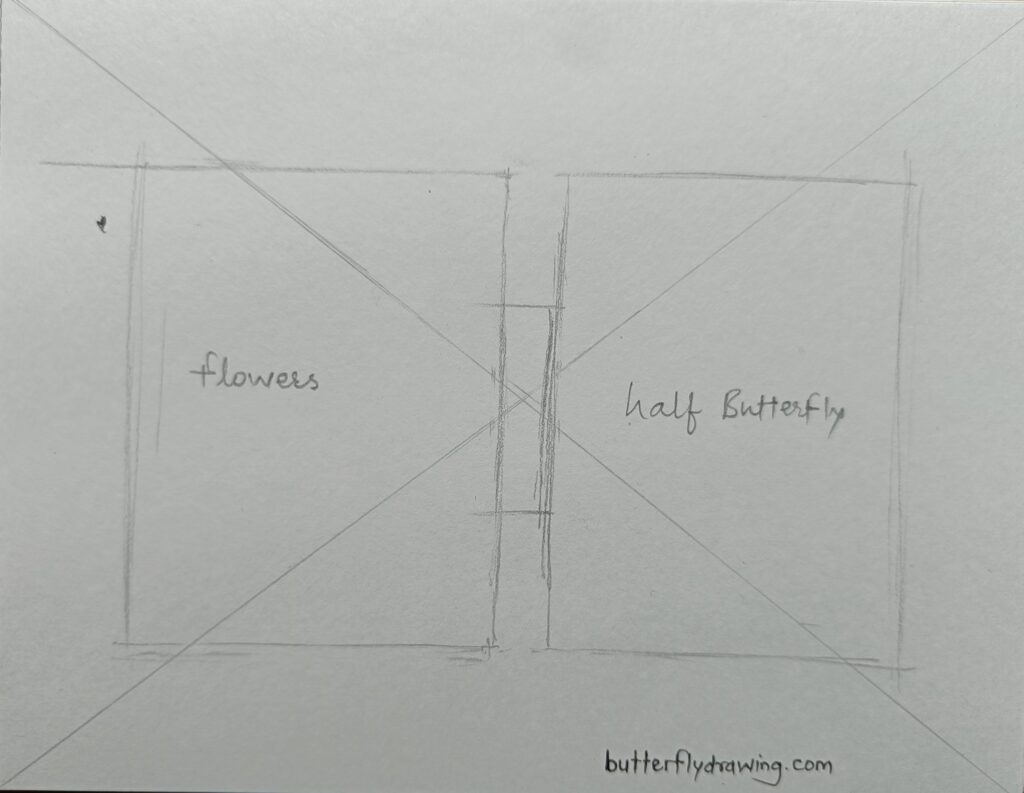
Similarly, pinch the middle rectangle and draw two large vertical rectangle on either side. one of the rectangle will be for embroidering the half butterfly drawing and other rectangle will be for embroidering the flower. but before carving, you should be able to draw the outline of the butterfly wing. and for that you should take help of reference line. you can see in the diagram below how I have structured this.
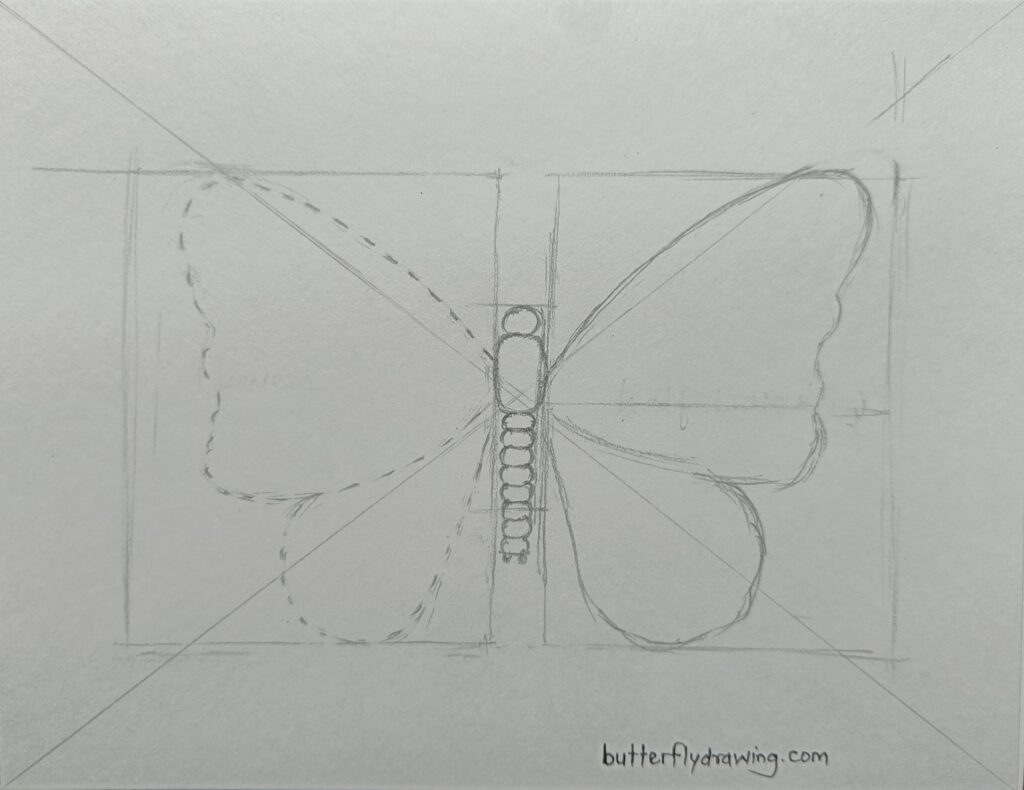
Step 2: Draw Butterfly Outline
Let us draw the anatomical structure of a butterfly.you have to draw this shape in the drawn vertical rectangle. you have to fit the body of butterfly into a rectangle with head, centre and tail. you can refer to the diagram below while drawing this Half Butterfly Half Flower Drawing.
First, draw the outline of the butterfly’s wing in the rectangle on the right side. you can use the intersect line for that. the upper wings of a butterfly are larger and the lower wings are slightly smaller. I have split the rectangle right down the middle to distinguish between the two wings. and so using the reference line I drew the outline of the butterfly wing.

Let’s embroider the flowers on the right side of the half butterfly drawing, Also draw the other side of butterfly using reference line. I drew the right side same as the left side, do remember to always keep the right side faded. in the faded wing we are going to do flowers and leaf carving.
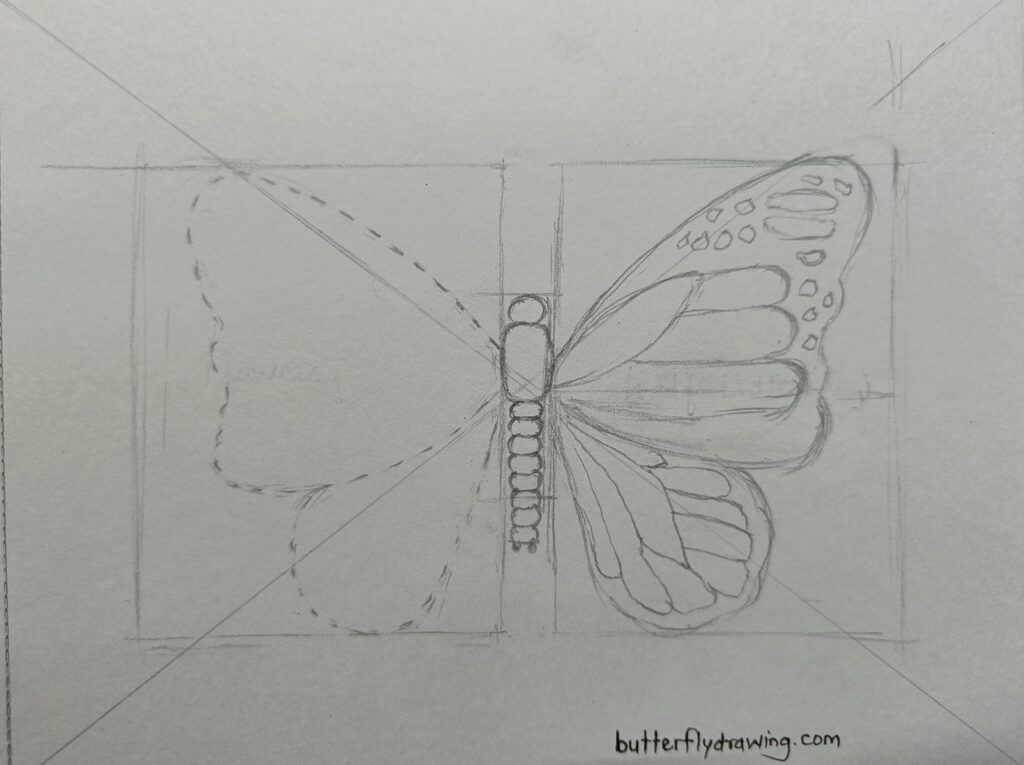
I have drawn a monarch butterfly to the right side, first take away the vein of monarch butterfly as well as white dot on a wing. Every monarch butterfly have wing design patterns. follow the following pictorial representation of monarch butterfly vein,
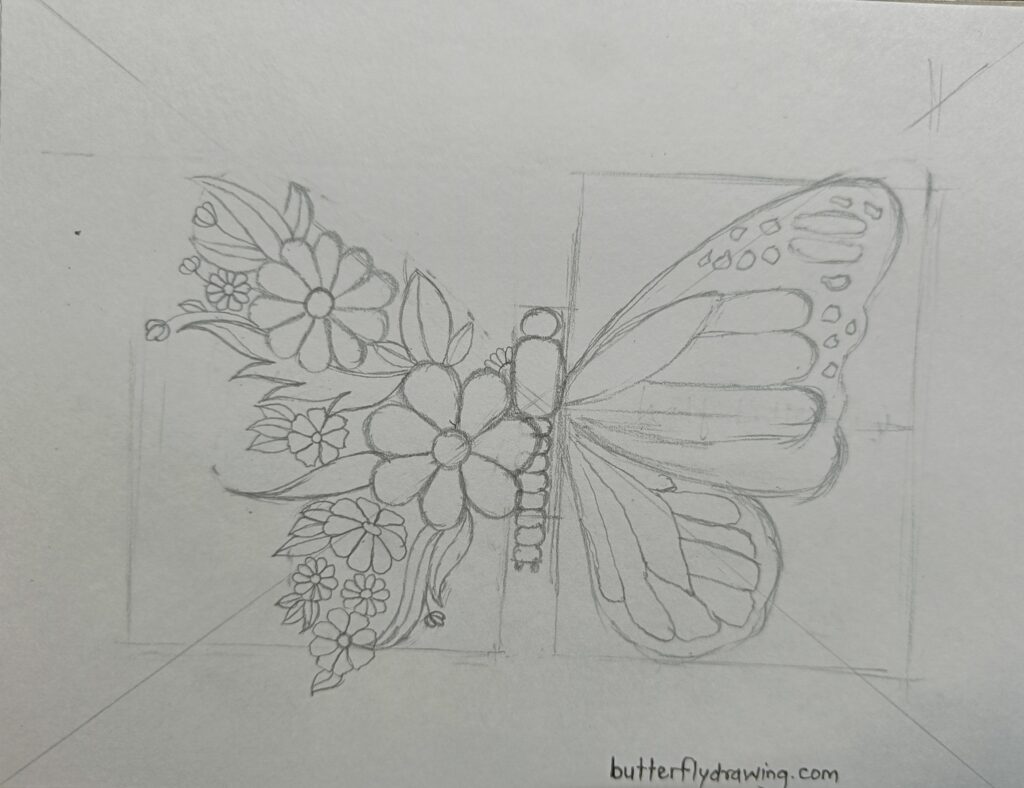
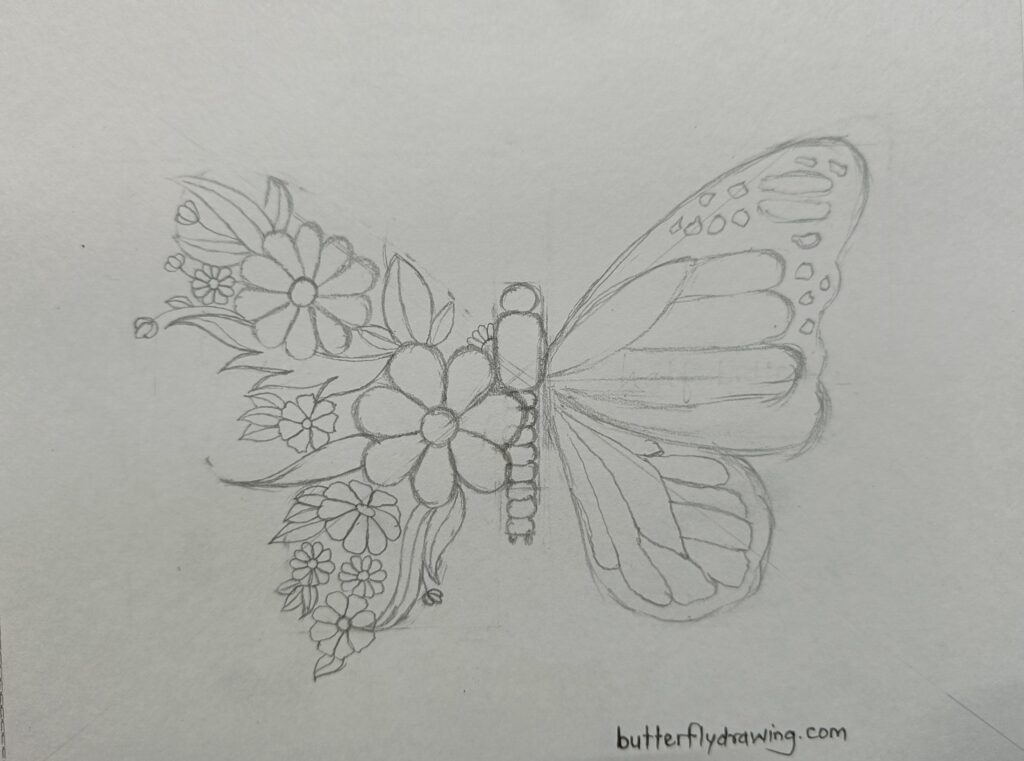
Step 3: Draw Flowers and Leaf
Let us embroider the flower and leaf in the left wing of the half butterfly drawing. draw basic structure if flower and leaf. I have selected some basic designs of flowers and leaves. draw large and small flower shapes that will fit comfortably on the butterfly’s wing.
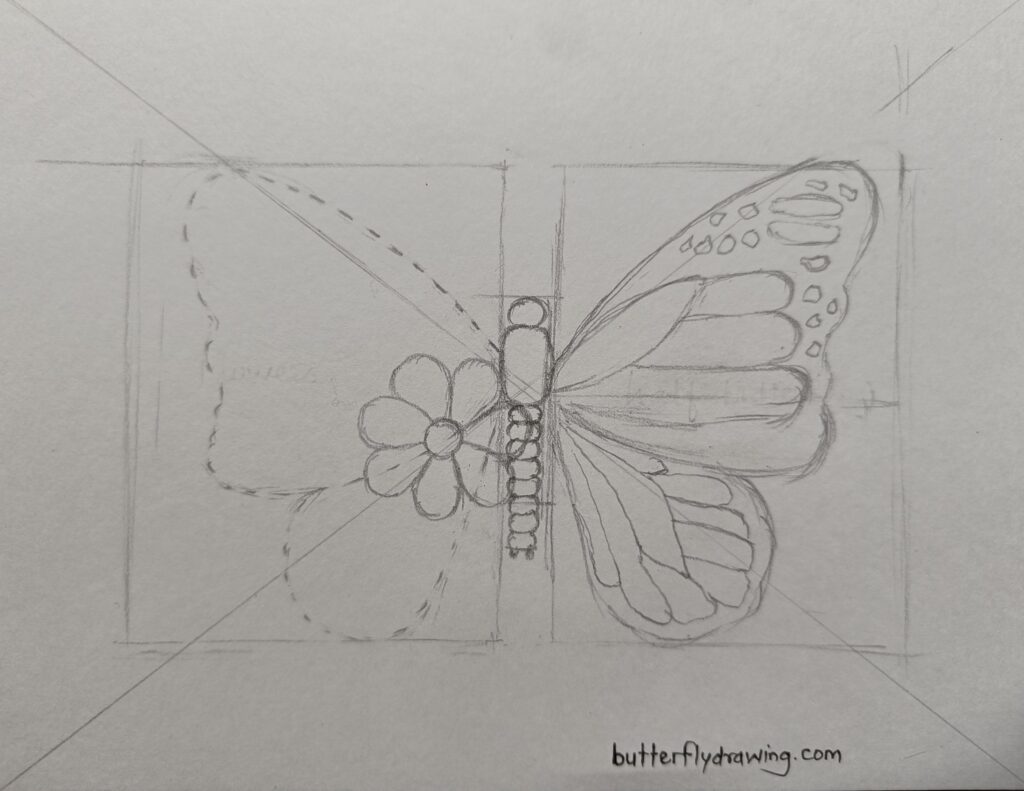
Note that I have drawn the shape of the flower and leaf on the butterfly wing in such a way if I look at it from a distance, it will look like a butterfly wing. some leaf and flower motifs shape the edge of this butterfly’s wing.
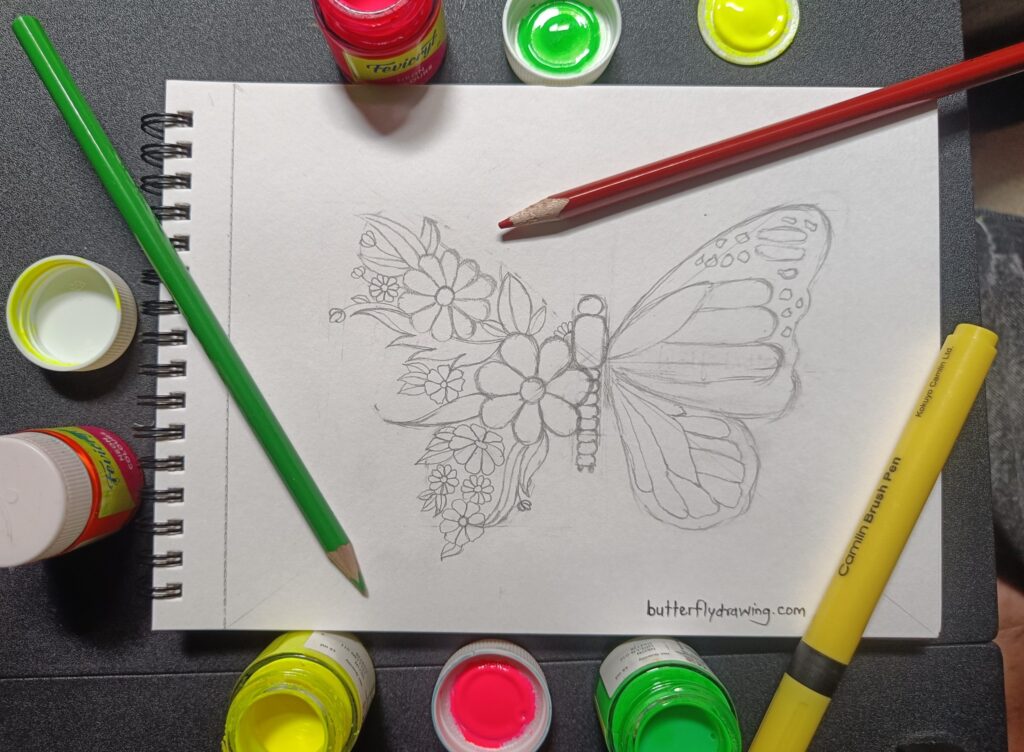
Step 4: Colour Work
I use very lighten colour combination for this Half Butterfly Half Flower Drawing artwork. I choose water colour and colour pencils. the combination for shading goes perfect with water colours and colour pencils.
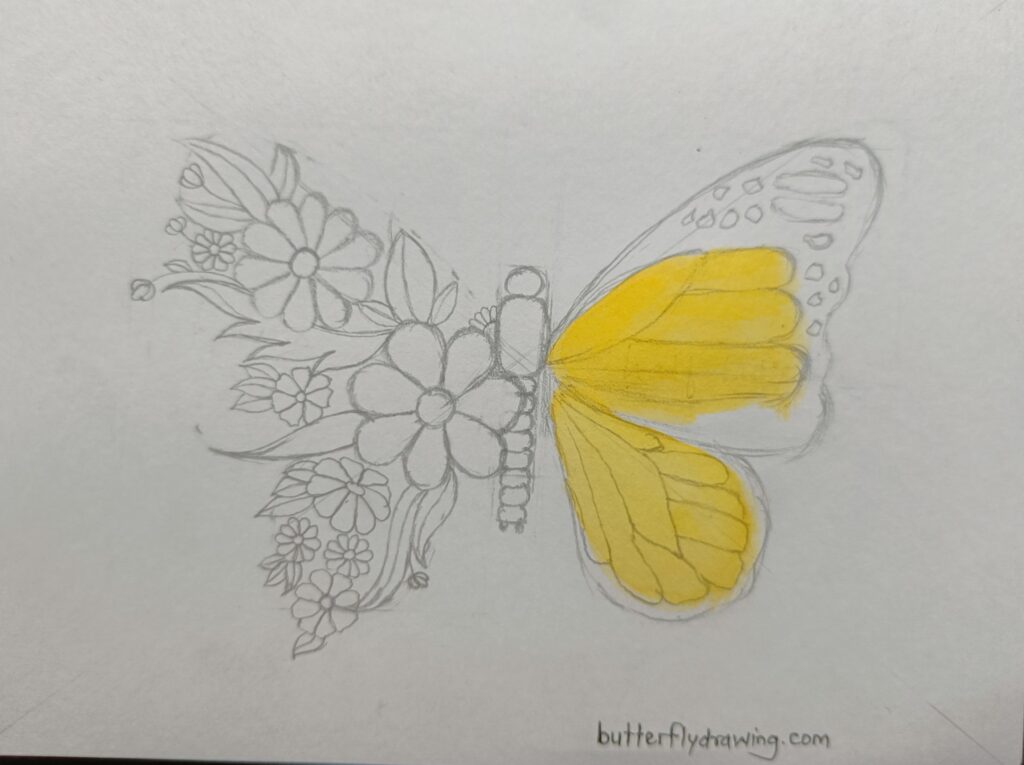
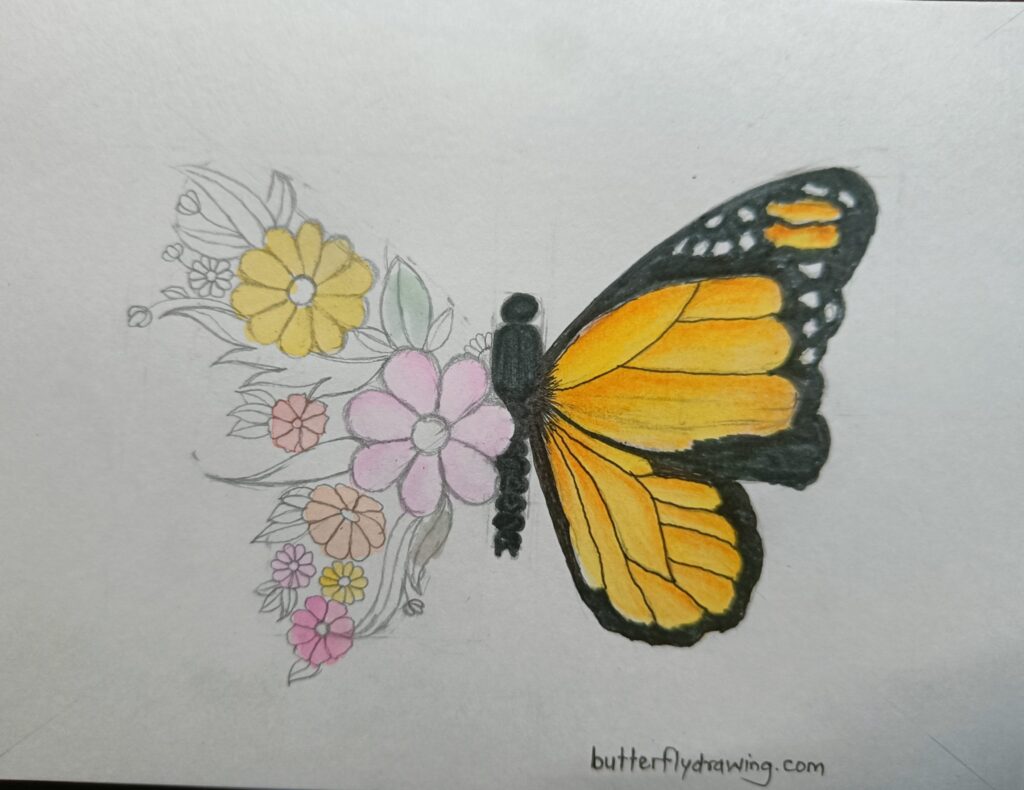
First we will paint the right side of the half butterfly. the colour of monarch butterfly is slightly yellow and orange in colour. the edge of butterfly’s wing is back. the colour scheme of yellow, orange and black looks very striking that why the monarch butterfly looks so amazing in nature. I have given a colour layer of pale yellow on the side where I have drawn the veins of the butterfly.
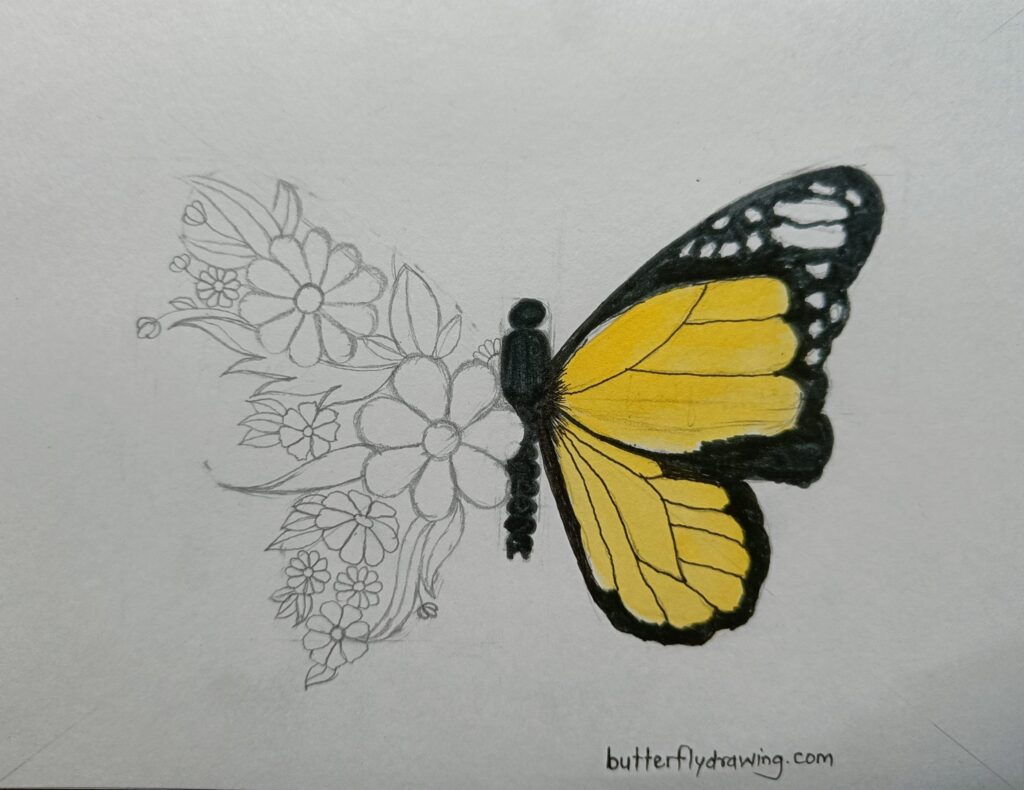
After the yellow paint has dried completely. I have painted the edge of the wing with dark black paint. Similarly, I have given the black colour to the body structure of the butterfly.
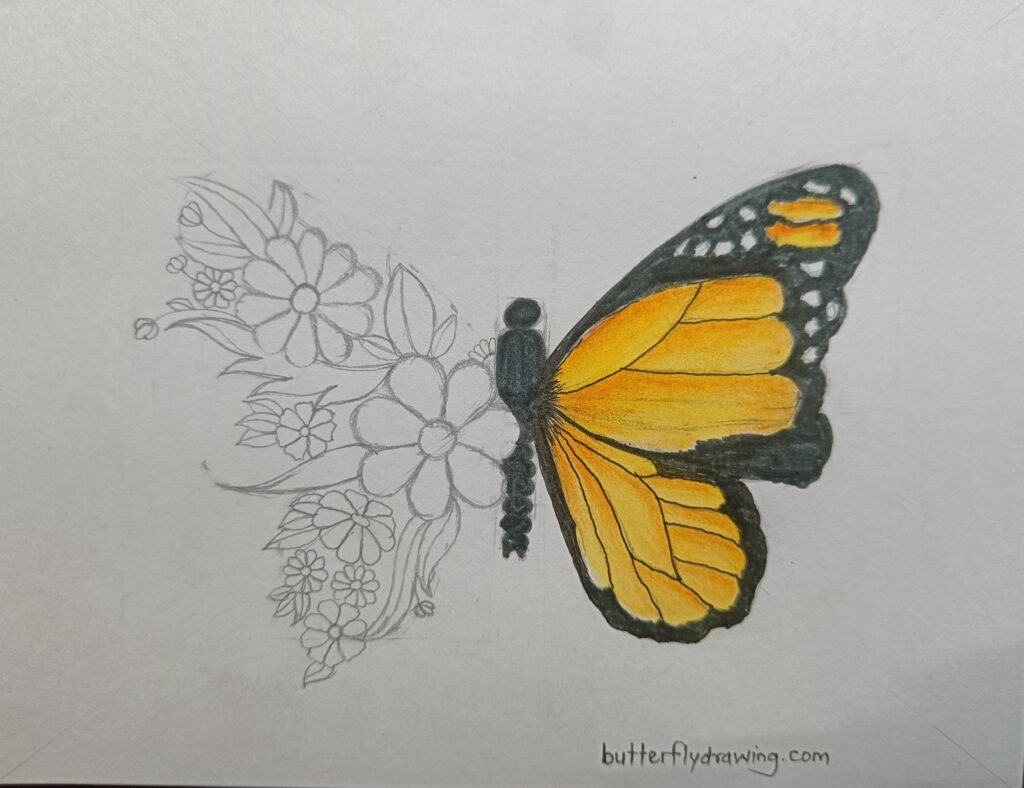
with an orange colour pencil I created shading effect on the vein side of half butterfly wing. if you want a darker shade, you can use red along with orange.
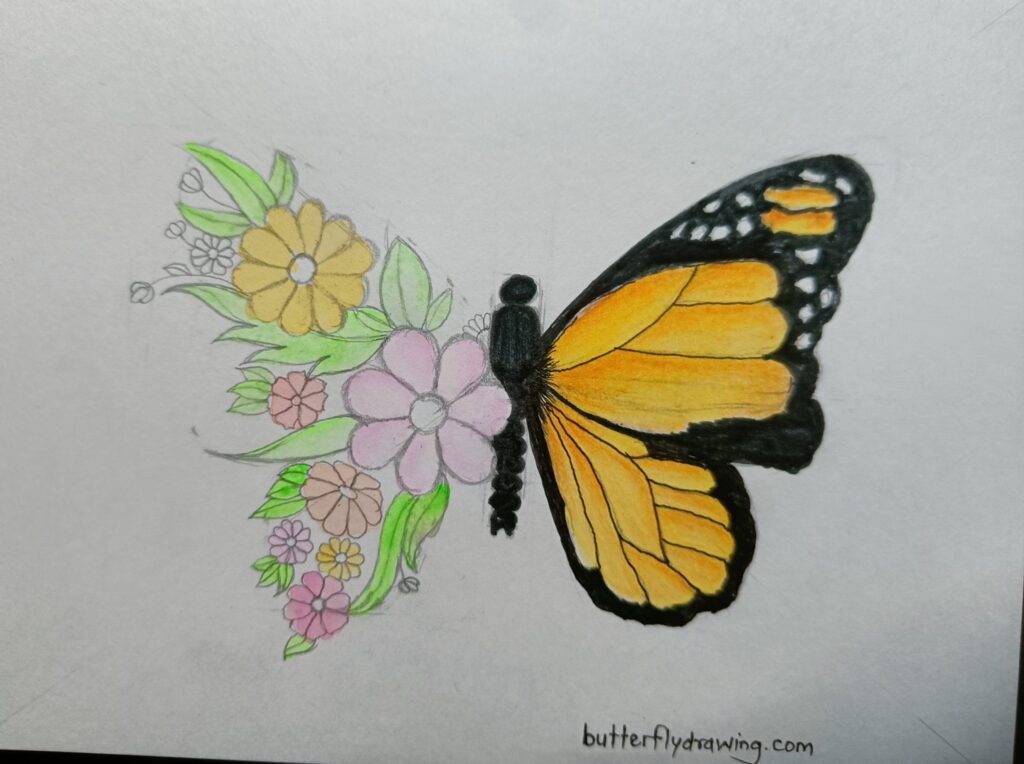
After the right side of the butterfly is painted, we will start painting the left side of the butterfly. we will use pale colours to paint the flowers. and after that we are going to do dark colour shading. I have used Pink, Yellow, Orange and Red colour for flower and that too very pale colour. you can use pencil colour for that and if you are an expert in water colour then it is always better to use water colour.
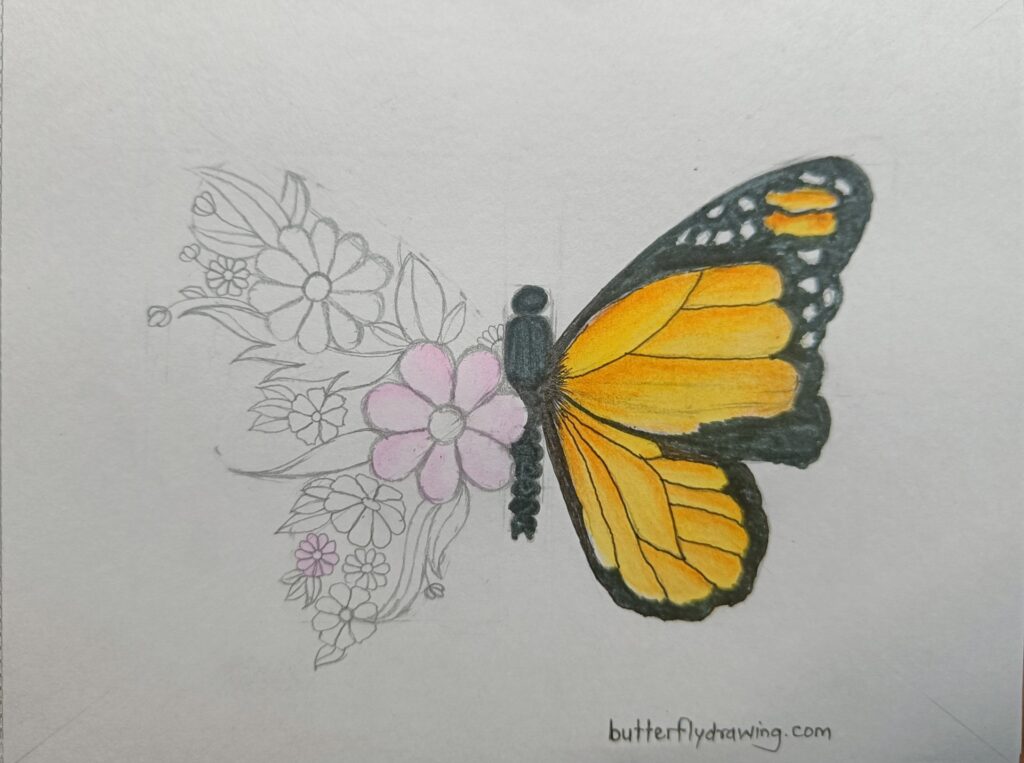
I have used water colour. Always remember if you are using water colour then your brush should be of good quality. First I dabbed the pink shade in water and lightly painted it on the flowers. Similarly I did this method with other flowers too.
to colour the leaves I took a neon pale poppy colour. and I dipped that light colour in water and gave it to the leaves.
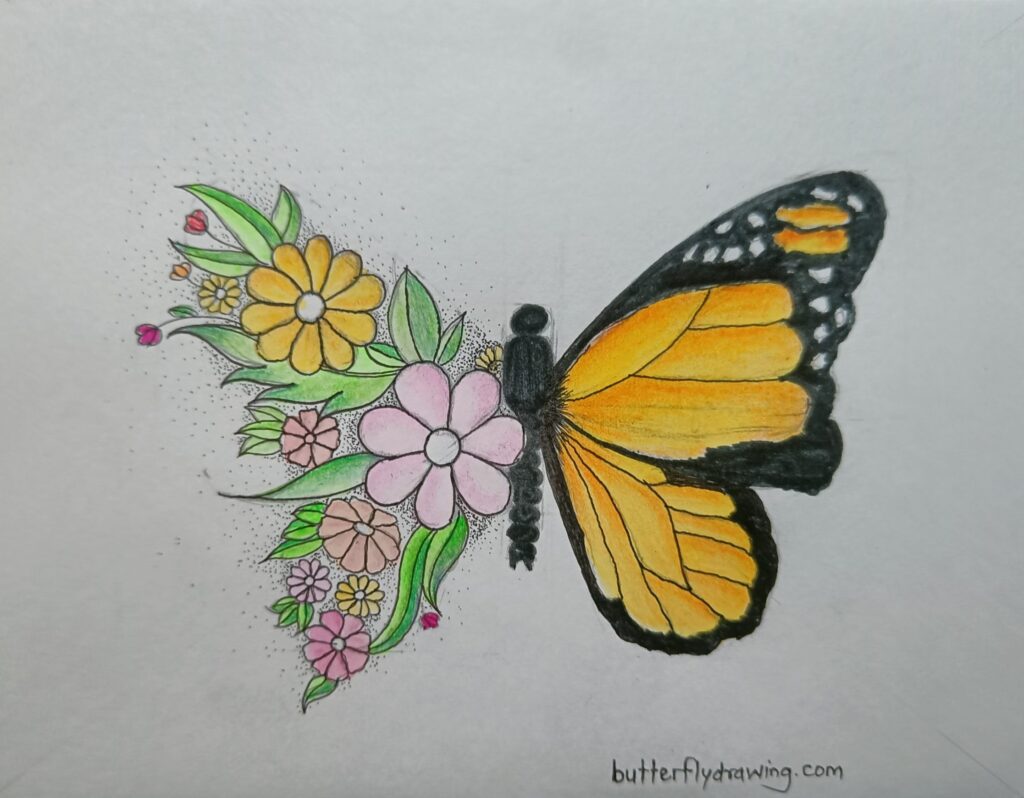
Now with 0.5 I drew the border completely with a black coloured pen. Drawing a black colour border gives the picture a new vibrancy. the flower and leaf motifs have many different colours so perhaps the black border differentiates the colours.
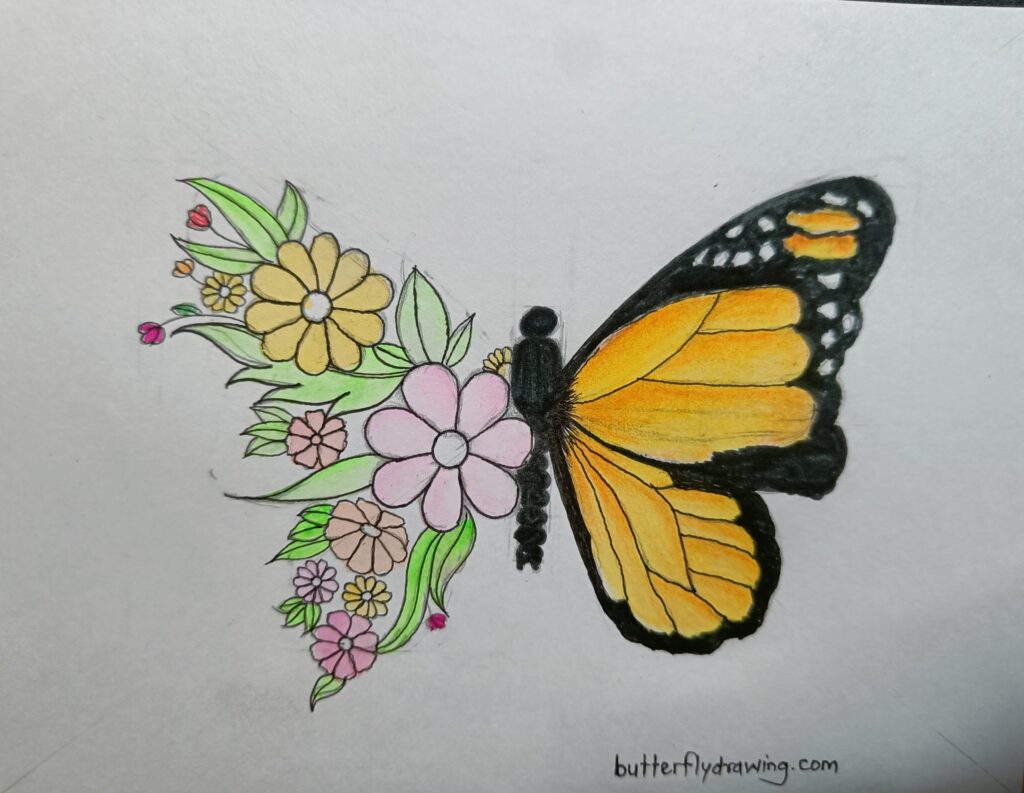
to complete the leaf colouring which is still incomplete, I took a green colour pencil and gave a shading effect. in the same way you can also give a shading effect to the flowers by taking them a shade darker then their original colour.
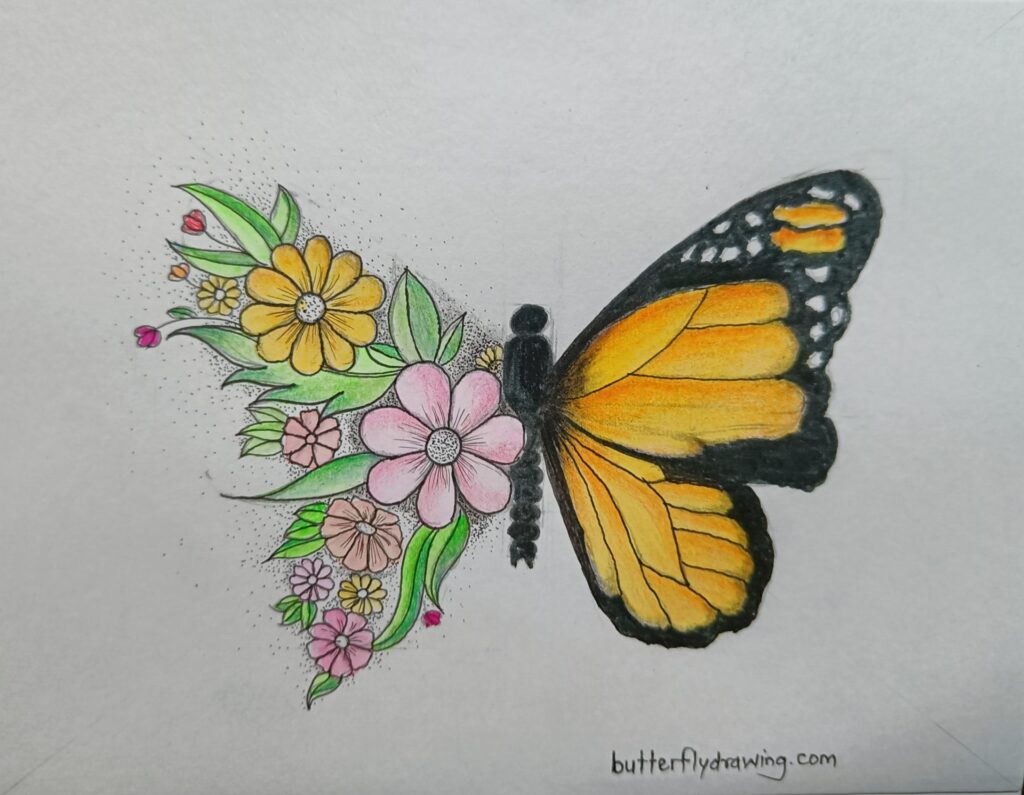
Now you look at the above picture, you must have seen that there is some empty and empty space in the flower pattern, maybe it is not so beautiful but lets give some idea to make it beautiful. for that I took a 0.2mm black pen and started giving small dots. note that the distance between the two line dots should not be the same everywhere.
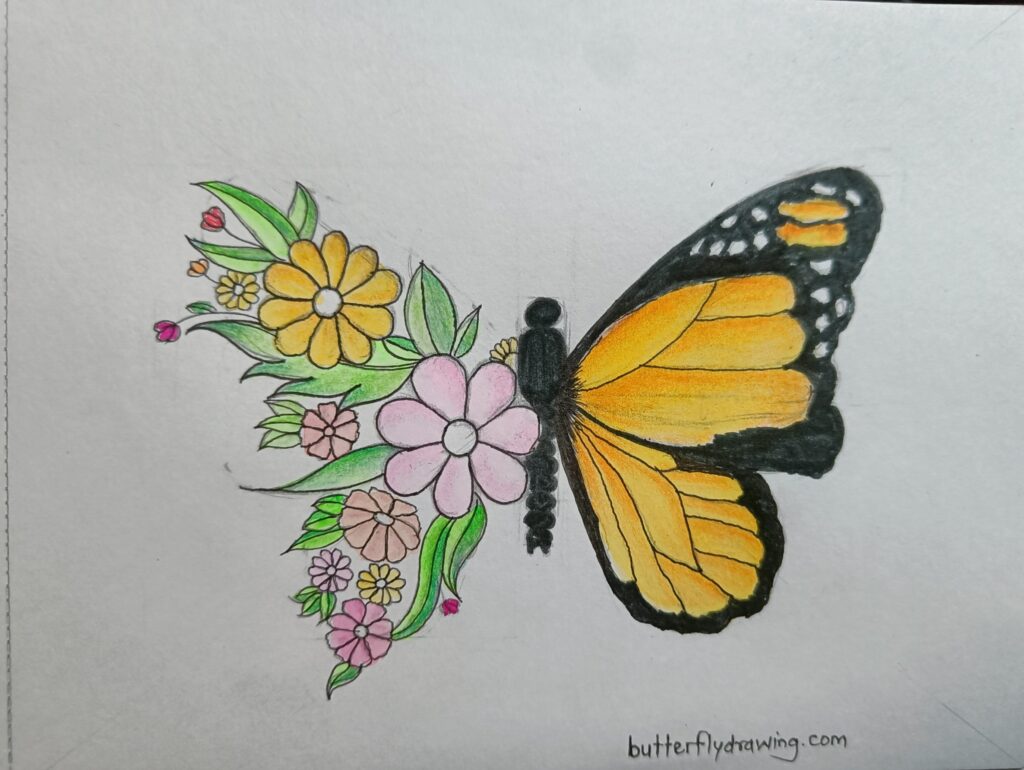
In the same way, I used the same pen to draw the veins in the flowers. you can also use glitter to add more sparkle to the flowers and leaves.
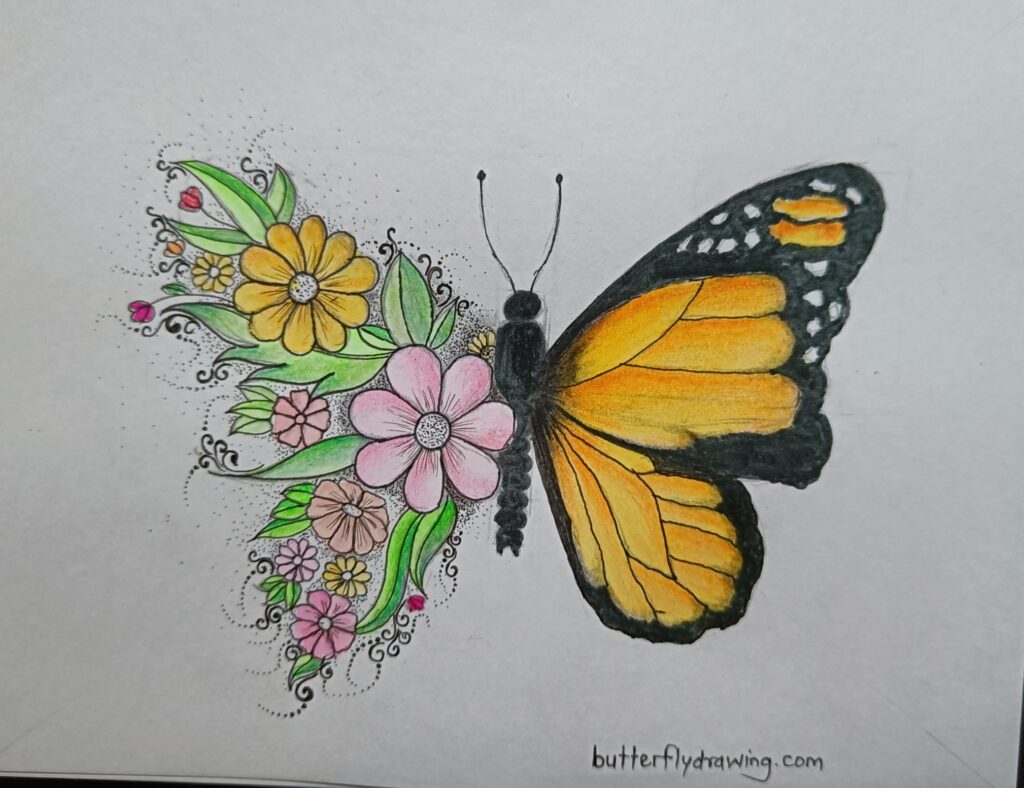
I added some textures to it to add more beauty to the pictures. You known, just like the mehendi work on your hand can be enhanced by adding small details to it, I have draw same design to keep another level of this beautiful Half Butterfly Half Flower Drawing
Some points to keep in mind while drawing the Half Butterfly Half Flower Drawing
- You can choose the butterfly of your choice but choose the colour of the butterfly so that it stands out easily with the colour of the flowers.
- You can also keep the shape of the flowers in different ways.
- You can also ad embroidery to make half butterfly half flower drawing more beautiful.
I have drawn some more beautiful butterfly drawing which you can see by clicking on the given link.
Thanks for sharing. I read many of your blog posts, cool, your blog is very good.